Wednesday, June 29, 2011

Little cheese and butter buns


Before proof


After proof, double of the size
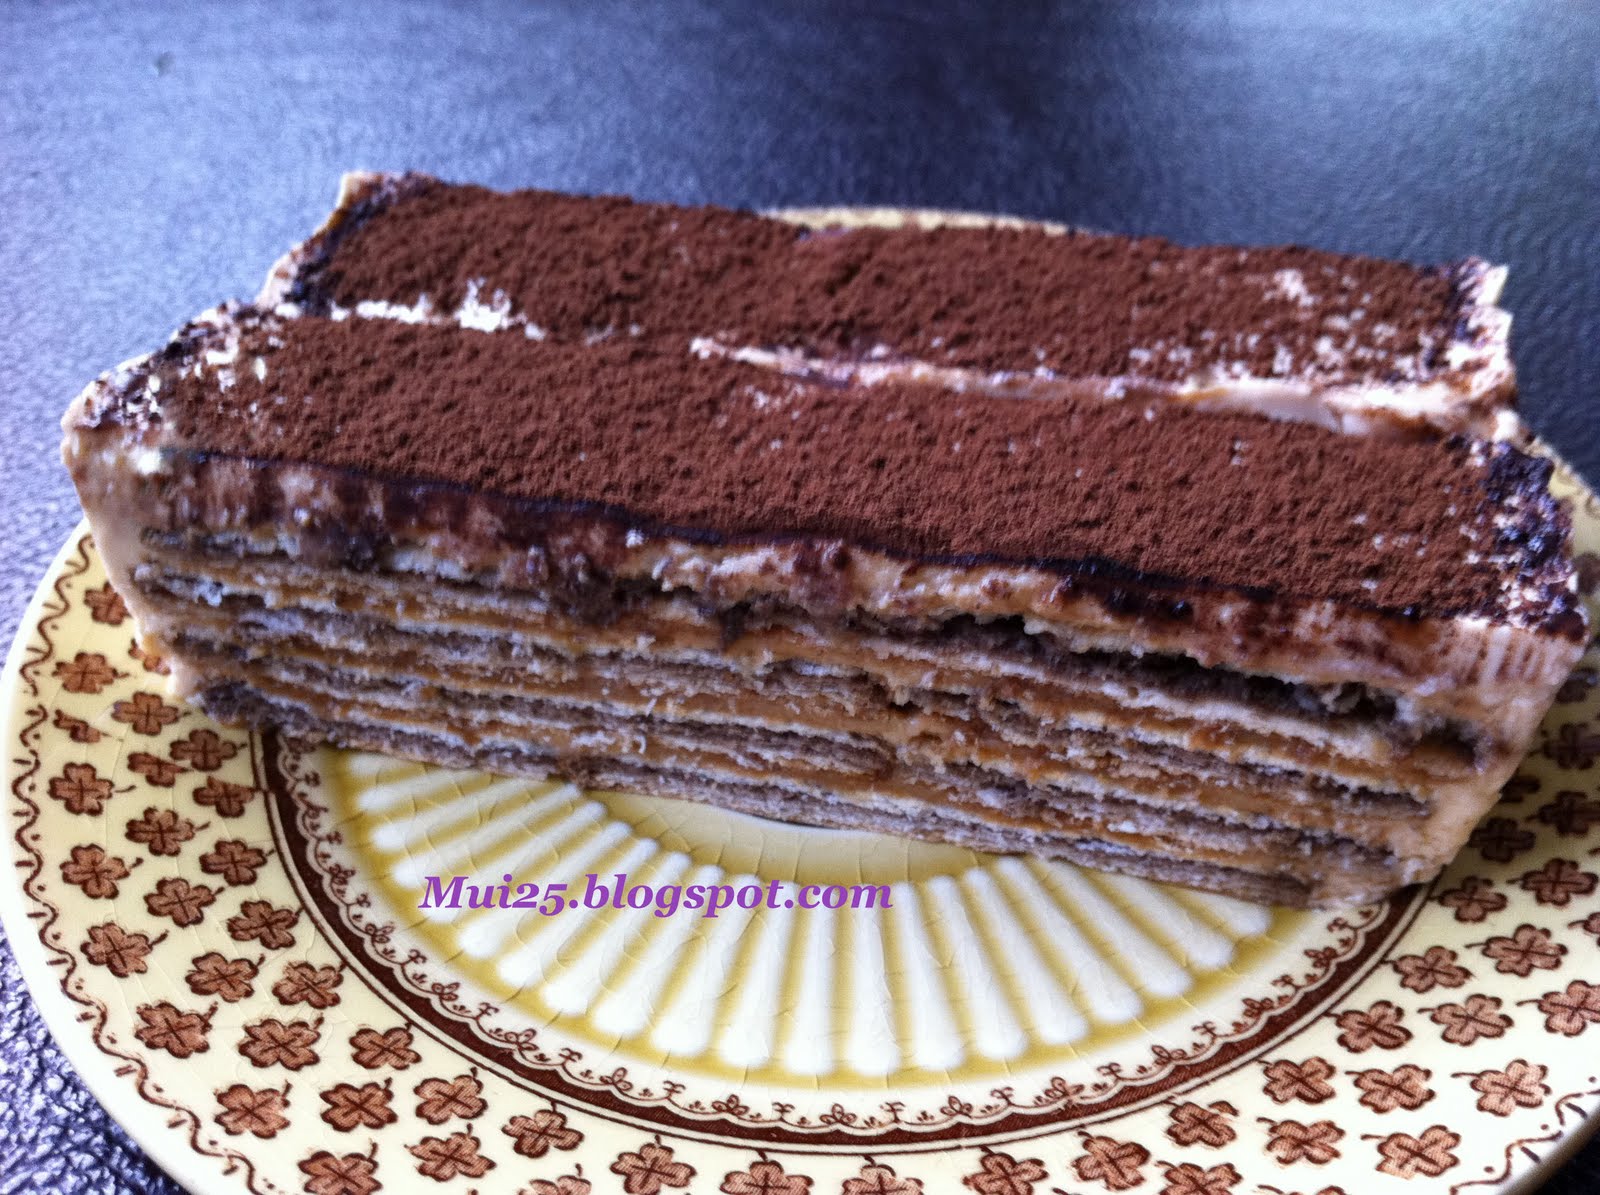

Out of the oven

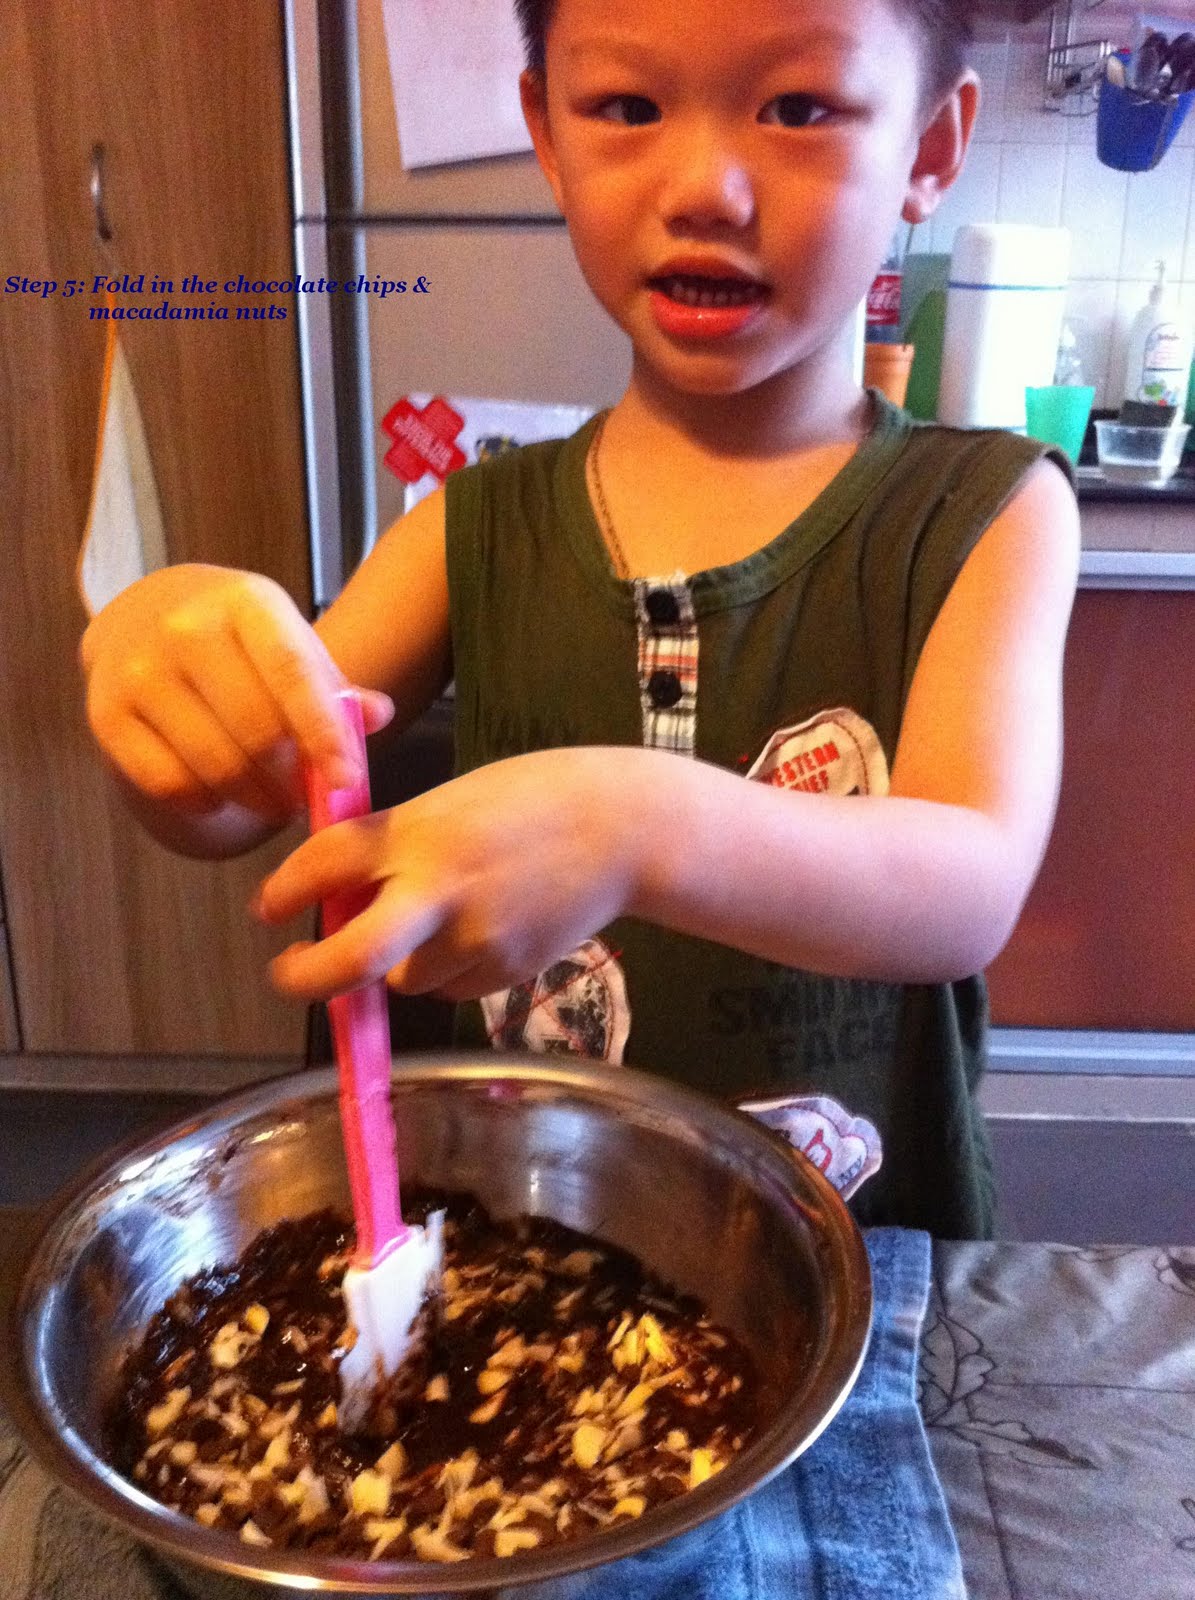
Oops! Some bun was not wrapped properly and the butter leak. Another idea to tear the bun.

It had been my longest wishing list to bake a bread, infact i had already brought a packet of bread flour and instant yeast and it had been beautifully displayed on my glass cupboard until ASPIRING BAKERS #8 : BREAD SEDUCTION (JUNE 2011) awakes me. Often read up scary comments of kneading by hand (Cos i do not own an heavy duty mixer or a bread machine), till i finally have the courage to try. But my yeast was dead (lucky of me to test the yeast before the dreadful kneading came in). My initial attempt was using tangzhong, as i always have a soft spot for soft and fluffy bread. But i overbaked my bread and result a hard crust buns, which i called it rock buns. Noneless to said it was still very fluffy and soft inside, only the crust was really hard and i over glaze the bun (silly of me, i even apply egg wash on the cheese and reapply the bun for 3 times). This is was what the old folks used to said never study hard until the exam came, then had to burn midnight oil to pass the test. Haa!

This time i did not used the tangzhong method due to time constant. During this period, i had alot of hiccup, which emotionally drains me out (be it kids health and personally problem). But the happiest parts was, i did it!!! Hence, i am submitting it to ASPIRING BAKERS #8 : BREAD SEDUCTION (JUNE 2011) http://thesweetylicious.blogspot.com/2011/06/aspiring-bakers-8-bread-seduction.html hosted by The sweetylicious

FILLING
100g salted butter, soften
20g icing sugar
10g coarse sugar
a pinch of salt

Method
  1. Blend all ingredients together till combine.
  2. Put it into the freeze for 30 minutes and divide the mixture into 20 portion. Place it in the fridge until when it ready to use.
SWEET BUN DOUGH  (Make 19-20 small buns)

Ingredients A
250g bread flour
1/2 tsp instant yeast
Ingredients B
50g fine sugar
1/2 tsp salt
1/2 tsp milk powder
Ingredients C
25g egg
125g water
Ingredients D
50g unsalted butter

31/2 slice of cheddar cheese, cut into 6 pieces per slice
Some melted butter, for glazing
Some sesame to sprinkle (optional)

Method
  1. Put ingredients A into mixing bowl using low speed mix for 3 minutes, add B using low speed mix another 3 minutes.
  2. Add C using low speed mix for 3 minutes, then turn to high speed for 8 minutes till dough come together.
  3. Add half portion of D using medium speed mix for 10 minutes and another half portion for 10 minutes.
  4. Remove the dough and put it on a lightly flour table. Knead the dough for 25 minutes until smooth and can be stretched into a thin layer without tearing.
  5. Remove the dough and put it in a big bowl. Leave the bowl in a warm place, cover with a piece of damp cloth and leave to rise for 1 hour or double in size.
  6. Punch down knead again till smooth for 5-10 minutes.
  7. Leave aside to rest for 15 minutes. Divide each dough into 25g.
  8.  Using a rolling pin flatten the dough and put the butter filling with a slice of cheese.
  9. Wrap quickly and pinch tightly or the butter filling will melt and leak.
  10. Preheat oven at 200C for 15 minutes and turn to 180C bake the buns for 20-25 minutes until golden brown.
  11. Brush the buns with melted butter, when remove from oven and leave it to cool.
Filling: Adapted from AGNES CHANG I CAN BAKE with some changes.
Sweet bun Dough: Adapted from WENDY KOR BREAD CODE with some changes.

Notes: The mixing time was based on my lousy mixer, which i had to twist the dough hook instead of the mixer aiding me. The dough was very sticky, i had to keep add flour while kneading and it took me nearly 2 hours to proof. The weather was hot, but my house was very windy. The bun was very soft, i took 3 at one go and result with a bloated stomach. The bun was still soft after 3 days, but not the cheese part. The finally Verdict was, i will definitely go through the whole process of kneading again. These was so irresistible very soft indeed. My personally rating 4 stars minus the butter leaking part.


Saturday, June 25, 2011

Egg tarts

These are the best after my experiment from different recipes for egg tarts. I prefer the tart crust not too hard and thick. Finally bookmark these, the crust method are how i did my pineapple tart with slightly changes and the filling are adapted from http://en.christinesrecipes.com/2009/03/cantonese-egg-tarts-recipe.html.

(Makes 12 egg tarts)

Friday, June 17, 2011

Cheddar cheese cupcakes

Whisk butter, sugar & eggs together
Fold in the sifted flour
Add grated cheddar cheese & milk

Give a quick stir

Do not over-mixed

we are done

Added some variety of topping

Tata! A soft & fluffy cake.

 
Adapted from: http://anncoojournal.blogspot.com/2010/06/cheese-cupcakes_16.html with some changes.

Thursday, June 16, 2011

Fudge brownie

Another bake presented by my DS. My DS has grown up without me realising. He will peek at me whenever, i am in the kitchen. If there's eggs on my dinning table, he will came quickly and ask "mummy are you baking a not". Wonder if it was me who create his interest in baking when he was still my tiny boy. In the past, he doesn't like to eat anything i bake. But now he will google up and ask for more. Maybe he is just used to my horrible baking stuff, that his immune to it. Ha!!!


Ingredients (makes a 8 inch square tin)
150g chocolate
113g unsalted butter
2 tbsps cocoa powder
200g sugar
1 tsp vanilla essence
3 large eggs
95g cake flour
1/4 tsp salt
63g chocolate chips
63g macadamia nuts(chopped finely)

Method
  1. Using double boil melt the chocolate and butter.
  2. Stir in cocoa powder and sugar, until sugar dissolved.
  3. Add in the eggs one at a time slowly and vanilla essence until well mix.
  4. Add in the sifted flour with 1/4 tsp salt, stir gently.
  5. Fold in the chocolate chips and chopped macadamia nuts.
  6. Bake in a preheated oven at 180C for 30 minutes.
  7. Remove and cool on rack, do not overbake. Texture should be crumpy and moist.
Adapted from: http://joyofbaking.com/brownies.html with some changes.

Wednesday, June 15, 2011

Dulce De Leche cocoa puff cream cake

Have been trying to clear some stock piling up in my cupboard, when i glance upon a packet of cocoa puff biscuit with 4 cans of nestle cream neatly pack in one corner. I suddenly remember that it was my to do list on Florence blog http://wlteef.blogspot.com/2007/01/cocoa-puff-cream-cake.html that i bought the ingredients, but i totally forgot about it. I quickly put my hand to work, it was a very easy dessert or cake suitable for all occasion with some adjustment only. The best part of all was no baking required, i gave half portion of the cake to my sister and her feedback was yummy! She thought this was a layer cheesecake. Sad to said i did not manage to taste it, coz it requires to chilled over night and i had my nerve remove on next day.


Ingredients
24 pieces of cocoa puff biscuits
510g Nestle cream (3 cans)
1 tsp vanilla essence
Some Dulce de leche (spread 1/2 tsp on each biscuit)

Method
  1. Line the cake tin with aluminium foil or glad wrap.
  2. Mix cream with vanilla essence till well combined.
  3. Smear 4-5 tablespoons of cream on the bottom to secure the biscuits.
  4. Place one layer of biscuits on the cream. (I used 8 pcs)
  5. Top with 6 tablespoons of cream. Smooth and level the cream evenly.
  6. Spread 1/2 tsp of dulce de leche on each biscuits and place it face down on the cream.
  7. Repeat step 5 and step 6 till desired height. (About 4 layers)
  8. Smear the last layer with more cream, about 9-10 tablespoons or more.
  9. Lastly, sift some cocoa powder as deco.
Personal notes:
- Original called for 1 loaf W6.5 x L22.5 x H6cm). I just grap the only loaf tin, i have which is slightly bigger.
- I used nestle cream (pure dairy sterilised cream) weight 150g per can.
- Can change the deco to jello or chocolate ganache. (too lazy to do)
- Add dulce de leche, as i still have a can in the fridge. Will try to add cream cheese instead of nestle cream.
- Must chilled the cake overnight.

Source from: Florence blog http://wlteef.blogspot.com/2007/01/cocoa-puff-cream-cake.html with some adjustment.

Wednesday, June 8, 2011

Frozen Juice pops

Another easy and cooling treats. Can you see that someone is eagerly waiting to eat it.

Some freshly squeezed orange juice sieve, pour and sent it in the freezer till frozen. If the juices are not sweet add some sugar dissolve completely on individual preferences. For variety, you can add smoothies or fruit pureen and set it in the freeze. As easy as that for our humid weather. Most of all, i manage to coax my DS to took other fruits.

Cranberry Yogurt Cake

Water Chestnut Pudding

A refreshing dessert for the humid weather. I bought a packet of water chestnuts flour for quite sometime and was thinking of ways to clear it until i saw this on florence blog. Indeed it was very crunchy and refreshing that i can't stop helping myself on it. I ate this once during my son full month celebration and was only allow a small slice. MIL said too cooling for mummy.


Ingredients:   (Makes a 8 inch square tin)
250g water chestnuts flour
500ml water
500g fresh water chestnuts
550ml water
200ml coconut milk
400g rock sugar
4 pieces of pandan leaf

Method
  1. Wash water chestnuts, cut and chop them into small little pieces into your desired size. Wash pandan leaf and tight them into a knot.
  2. Mix water chestnut flour with 500ml water, strain and set aside.
  3. Put pandan leaf, rock sugar, 550ml water, 200ml coconut milk into a pot and cook until rock sugar dissolved.
  4. Remove the pandan leaf.
  5. Add in the chopped water chestnuts and water chestnuts mixtures.
  6. Keep stirring until mixture thicken like white glue.
  7. Pour the mixture into a well greased tin and steam on high heat for 40 minutes.
Notes:
  • Original recipes calls for 250ml coconut milk, but i do not like the strong flavour of coconut milk. ( i reduce to 200ml)
  • I reduce the fresh water chestnut from 600g to 500g. (just right for me) I diced it into very small pieces like the garlic (still recovering from toothache)
  • No pandan leaf was stated in the recipes, i add to enhance the flavour for reducing the 50ml coconut milk.
  • Require only 30 minutes of steaming, but i find the mixture still sticky on the surface so i continue to steam until 45 minutes.
  • Grease the tin well. (it easy to remove after cool)
  • Cool the pudding completely and cover with a cling wrap to be eaten on the next day. (it tastier to eat it chill from the fridge)
Adopted from: http://wlteef.blogspot.com/2005/04/water-chestnut-pudding.html

Wednesday, June 1, 2011

It seem that i can't reply or leave any comments on blogging for these few days. Does anyone encounter this problem. I can only do posting and receiving comments.